Thursday, June 20, 2013

Teacher/Parent Appreciation: Class Projects

Here are a pair of projects that I used this year for my daughter's class.  

I took a few chalkboards to school and took  two photos of each child: one telling what their favorite subject their teacher taught them and one telling what they want to be when they grow up.  

I used the first for teacher appreciation week... I printed this as an 11x14 and framed it.   


The next one I printed as an 8x10 and brought several copies for the parents to keep.
Fun little keepsakes for both the parents and the teachers!

Tuesday, June 18, 2013

Pallet Wine Rack: Home Decor

This project was a case of seeing something at a flea market and deciding that we could make it exactly how we wanted it for quite a bit less money.  I am really so glad we did... because I am so thrilled with the outcome of this little project!!

We found a great sized pallet at ReStore, John took it apart, and to design it we found some ideas on Pinterest and altered them based on our wall space.  A little sanding, stain, and stenciling and voila!
Confession: I went out and bought some new wine glasses to fit in the bottom because all of ours were too big or mismatched.  I did, however, already have the wine on hand and am happy to have a new place to display it!

Saturday, February 16, 2013

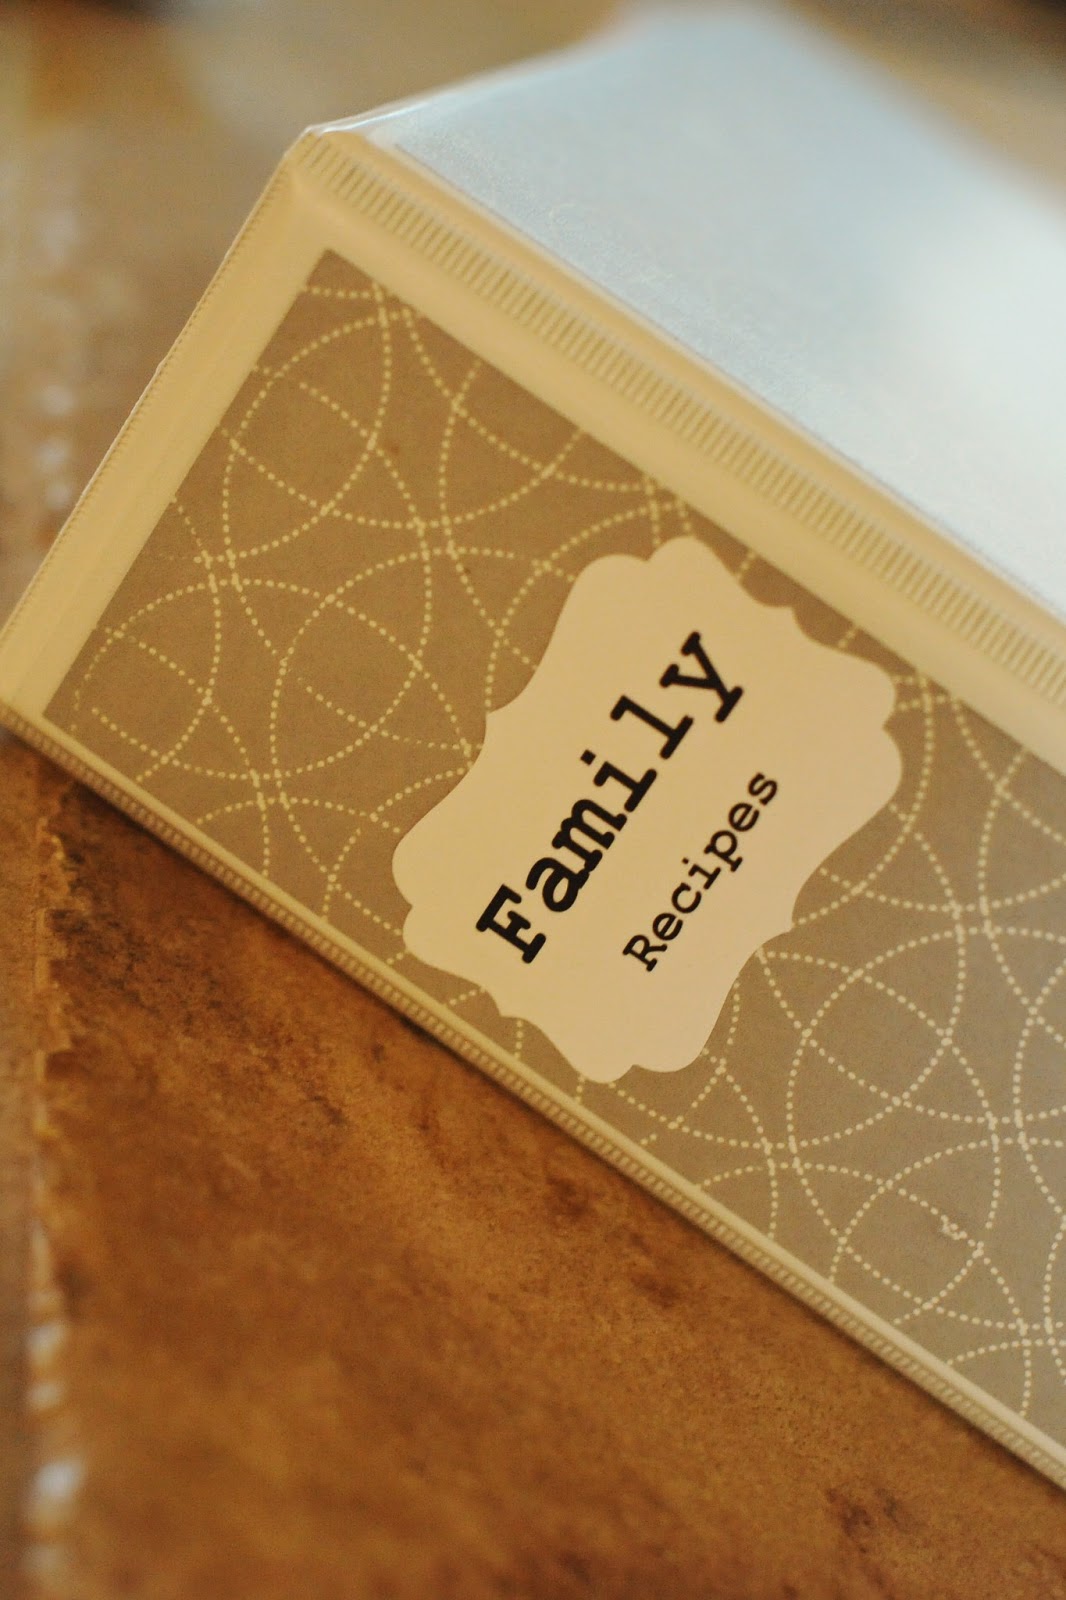
Family Recipe Binder

So here's the deal:  I have actually had a recipe binder for awhile.  

In fact I have had FOUR recipe binders... 
Family Recipes, 
'Real Food' recipes that I have been printing over the past year, 
Treats (to try), 
and other Food (to try).

Yes, that is a bit ridiculous.  

Yes, I have a binder obsession.  

And no, I don't use them regularly like I should.  

Time for a revamp of the system.   

So, I started by redoing the Family Recipe Binder.  (My other binders will be saved for future posts.)


I decided that 'Family Recipes' should include any recipes that we either have

(1) tried and LOVE,
(2) fit into our eating philosophy (i.e. use whole unprocessed ingredients),
or if they don't fall into those two categories then they
(3) have been in the family for years and are something I might make on a special occasion.

Although I did have many of these recipes already printed, I spent a few days (as I had time) collecting and printing these recipes.

The only recipes in this binder are those we have tried and LOVE, not those we want to try or think we will love...


Ok, so the question... why is this a good idea?

The honest answer: I have been burned one (or eighty five) time(s) too many when trying to retrieve a recipe come 5:30pm.  There is nothing worse than trying to open a Pintrest link to a recipe that goes to a dead end.  Sometimes they are recipes that I had JUST looked at earlier that day.  So I spend 10 minutes of precious dinner prep time trying to retrieve the recipe and getting frustrated...never again!

Also, if it is a recipe that we LOVE, then it just makes sense to me to have it in hard copy.  Maybe I just don't have the tech-y gene, but I like to have important things in paper form.  Totally my opinion!  I realize this is not the 'green' option, however if these recipes are going to be used for years to come I don't see the problem in having a single printed copy... again, my personal opinion!
Also I am partial to page protectors, and even more specifically to the large pack of them from Costco.  Every single recipe got a page protector.

So, I gathered the recipes.

Next, I divided them into categories that made sense for OUR family.  Personally, it made sense to me to divide recipes into categories based on when you would use them. (appetizers, soups, main dishes, desserts...)

I created some very simple labels (for the 18 different categories I had-yikes!) on Word and added a simple border.  I printed and cut them out, then attached them to a whole separate page protector using clear packing tape... essentially making my own dividers.  (I jazzed them up with some fun scrap book paper, the idea for the packing tape labels was found at Bold Turquoise)


I have had the completed binder for about a month now and use it nearly every single day.  I can imagine this being something I will adapt and change as we find new recipes, but essentially will be a family keepsake.

Stay tuned for more binder posts.  I am telling you, I'm obsessed!

Sunday, December 23, 2012

Brown Bag Reindeer Wrap

Super simple wrapping for the photo booth ornaments in the previous post:


This was a situation where multiple sized circle punches and dollar store clothespins came in handy!

Saturday, December 22, 2012

Photo Strip Ornament | Christmas Photo Booth


As the room parent for my daughter's second grade class this year, I wanted to make something pretty cool for the students in class to give their parents for Christmas.

I knew I wanted to incorporate photography and to do something fun and something they would like to keep for years.

This was a project that was a mix of a few ideas... starting with the currently popular 'photo booth' and adding in some amazingly awesome Christmas themed photo booth props. (all cut using the Silhouette machine)


So, the idea was to take several photos of every child in my daughter's second grade class, edit the photos into photo strips, print them at Costco, and then collage pauge them onto wooden boards and make them into ornaments.

Yup, that's a lot of boards and red paint.  I rolled it on because I could do so indoors and they would dry in a reasonable amount of time. (Had to take into consideration the December weather, spray paint wouldn't have dried outside.)


Thursday, November 1, 2012

Halloween Hands | School Goodies


Super fun Halloween treats for my daughter's class: 
  • medical gloves (the kind with no powder)
  • Five smarties for each
  • Three to five other candies
  • Halloween themed ring on the ring finger
  • Tied with a ribbon
  • Repeat 28 times! :-)

Monday, September 24, 2012

Corning "Watch" Mugs (handleless mugs)

A neat find the other day day by John... 4 WWII era Navy Watch Mugs!

I think I mentioned a few posts back that my newest hobby was searching for vintage Pyrex. These mugs fall into that category. One of the things I love about Pyrex is the history. I enjoy learning the dates of the pieces and imagine what they could have been used for and by whom.

I imagine Navy Watchmen sipping their coffee out of these mugs, keeping their hands warm on a chilly night.

These mugs could date back to the 1940's, and amazingly they are in wonderful condition!

All for a grand total of $2

Monday, August 27, 2012

Boysenberry Jam

After a trip this summer to a berry farm, I somehow ended up with pounds of boysenberries that were just screaming to be made into jam. 

I had never made jam. 

Canning intimidates me.  What happens if my jars don't pop?

(I had been told that was the most stressful part, going through the whole process and the finding that your jars didn't seal properly.)

Well, I lived through the experience and we actually ended up finishing off every last drop of that jam in a little under two months!  It was DELICIOUS!

Now that I am not quite as intimidated by the process, I am thinking I might venture out and make some jam using a few more natural recipes that I have read.  Some have suggested that using apples as the source of pectin works well and using honey instead of sugar is another way to make the jam more natural. 

One thing I never realized, which was a real DUH moment for me, was exactly how much sugar is in jam.  Really, they should be calling it 'a bowl of sugar with some fruit mixed in for color'...sheesh!

Anyhow, the jam was yummy... and all of my jars did pop ;-)

Tuesday, August 7, 2012

New Thrifting Love | Pyrex

John and I are big mid-centrury fans.  Thiere is something just fun about mixing pieces from the 1940's-60's in with our decor. 

I also love thrifting, yard/estate sale browsing, and generally finding things for amazing deals (who doesn't??). 

But my newest love is vintage Pyrex. 

I am just loving that many of these pieces are over 50 years old and still look BRAND NEW.  I also LOVE the patterns and colors that were popular in the 50's and 60's... just so FUN!


So, of course, it would follow suit that I would become a blogger at the super-cool blog The Pyrex Collective III.  Check it out for some awesome eye candy and amazing vintage pieces!

Wednesday, August 1, 2012

Record Display | Home Decor

I truly have a wonderfully talented Husband!

I need to share every last one of his projects/restorations because he is awesome at thinking up these things and then making them a reality.

A few weeks ago we picked up these old Disney record sleeves at a yard sale for $2 (they were just the sleeves, no records included).  I had an idea awhile ago to collect records for Claire's wall, but had never really pushed the idea because I had no idea how we would put them on the wall... frame?  ...shelf with ledge?? 

So when we found these, John was officially motivated to get something up on her HUGE green empty wall. 

Basically, he split a 2x4 and made a frame, then covered the frame with moulding! The record sleeves just lean up against the wall and could be rearranged if we wanted.

Claire's room has been a slow-to-come-together project.  As far as decor goes, that seems to be my MO... I don't like to commit to a decoration unless I LOVE it.  Until then, things are a bit of a hodge-podge. 

It's definitely getting to a point where her room makes me smile :-)

Tuesday, July 31, 2012

Baby Shower Pinwheels | Paper Crafting

My crafting life has been on hold awhile, it's a little bit sad.  I LOVE to be creative, but as is life, I have been preoccupied with other ventures. 

I was super excited to throw a little shower for a friend a few weeks ago.   She will be welcoming her thrid little one, her first BOY so I fel the occasion deserved a little celebration.  I took a few photos I might add later of the decor (I did a retro-book, ABC theme) but I wanted to share these sweet little pinwheels I made.  


I found the best way to make these is two (12 x 2.5 inch) strips of scored paper attached, folded into an accordian.  Then use hot glue to atttach circles in the middle on both sides.  Other adhesive worked at first, but by the morning they had come apart and I had to use some hot glue. 

Until next time...:-)

Tuesday, February 14, 2012

Valentine Banner: Simple Projects


This was super simple...(the Valentine banner hanging from the shelf)
I found a few packages of colorful tags at Michael's for $1 per pack of 12. 
Add some red letters and jute twine and make a simple, yet super cute Valentine banner!


Friday, February 10, 2012

Digital Design: More Christmas Cards!

Christmas cards designed for 2011!!

These are showing the front of the card on the left/top and back of the card on the right/bottom.


Wednesday, February 8, 2012

iLoveToCreate: $1 Michaels Heart Frame Chalkboard

This is a super simple Valentine's Day project that is easy on the wallet as well.  This would make a great gift for a teacher, gradparent, or friend.  It is also a great little project for decor in your own home!

 Supplies:
Remove the center cardboard shape from your frame and SAVE for a little later.  Trace your entire frame onto the scrapbook paper and cut out; line up the frame and trace the inside shape and cut out.

Use the foam brush to paint on a layer of Collage Pauge directly on both the frame and the back of the scrapbook paper, work quickly to adhere the paper to the frame.  Sand all the edges to make sure the scrapbook paper is not coming over the edges and it all looks even.
Use a stamp pad or some stain aroud the edges of the whole frame and the inside shape.  Paint on several more layers of Collage Pauge and allow to dry completely.
Paint the inside cardboard shape with several layers of chalkboard paint.  (I think I used about 6 layers of paint to get the look I wanted)  Let the shape dry completely.
Turn over the frame and add a thin line of Aleene's Quick Dry Tacky Glue to the inside rim where the chalkboard painted heart will go.
 Insert the heart shape and allow the glue to dry completely before using the chalkboard.
 Display in a plate holder or easel.

Tuesday, February 7, 2012

Fabulous Finds: Scales

A few fabulous finds over the past few months!

I have been on the lookout for reasonably priced scales for awhile.  I was planning on using them for decoration, but some of the prices on Etsy were a bit high (in my opinion). 

I was up in Coarsgold (a small community on the way to Yosemite) doing a photo session and stopped at a side of the road antiques/junk sale and found this beauty... $5!!  It doesn't exactly work properly, but it has the look I was going for, so I was happy.  John actually painted the top and dial a oil-rubbed bronze color and cleaned up the face a little...perfect!
This scale was found (by John) in an antique store in Oakurst (another small community in the same area) for $28... we had seen some similar on eBay and Etsy for anywhere from $50-$200 so I was so excited by this find!  This one really does work and looks great in our kitchen.  We use it to weigh the produce we have gotten from our citrus trees this winter. 

You never know what you can find and where... plus having a hubby that travels daily has it's perks ;-)

Monday, February 6, 2012

Upcycled (Refurbished) Bottom Box/ Tool Chest : John's Project

Last July, John found this bottom box/ tool chest at ReStore for $20.  It just seemed like too good of a deal to pass up, so he went to work cleaning it up and brainstorming ways to use it.


 His idea was to make a countertop for the piece and make it be a sort-of work station that could be used either in the garage or in the house somewhere. 

Here the sides and bottom door have been painted a flat black and the top counter was made out of 2x4s.
 He sanded the countertop and rounded the edges so it was nice and smooth.  Then he distressed the wood.
 A coat or two of stain and some clear coat.
 And, the finished product!  A nice work station and tool box. 

Right now we actually have this in our office as storage for paper and other extra office supplies.  Our office is very industrial, so it goes well :-)

Thursday, February 2, 2012

Featured! Felt Rosette Ball

I love being featured on other blogs!  Benzie: A Fanfare of Felt chose to feature my Felt Rosette Ball from last year in a Valentine's Day inspired post.

Check it out!  I see SO many other fun uses for felt. 

I am getting inspired.... ;-)

Tuesday, December 27, 2011

A Merry Little Christmas| Digital Design

The past few months my creative outlet has been focused on my photography and digital design in the form of Christmas cards!! 

I am excited to share a few that I have designed now that they have been sent out and there will be no ruined suprises from the wonderful families I have photographed this season. 

For now, here is the card I designed for my own family!  Thank you to my wonderful friend and talented photographer Alice Addington of Addington Images for the photographs of our family!  They are a true treasure.

Related Posts Plugin for WordPress, Blogger...