
So here's the deal: I have actually had a recipe binder for awhile.
In fact I have had FOUR recipe binders...
Family Recipes,
'Real Food' recipes that I have been printing over the past year,
Treats (to try),
and other Food (to try).
Yes, that is a bit ridiculous.
Yes, I have a binder obsession.
And no, I don't use them regularly like I should.
Time for a revamp of the system.
So, I started by redoing the Family Recipe Binder. (My other binders will be saved for future posts.)
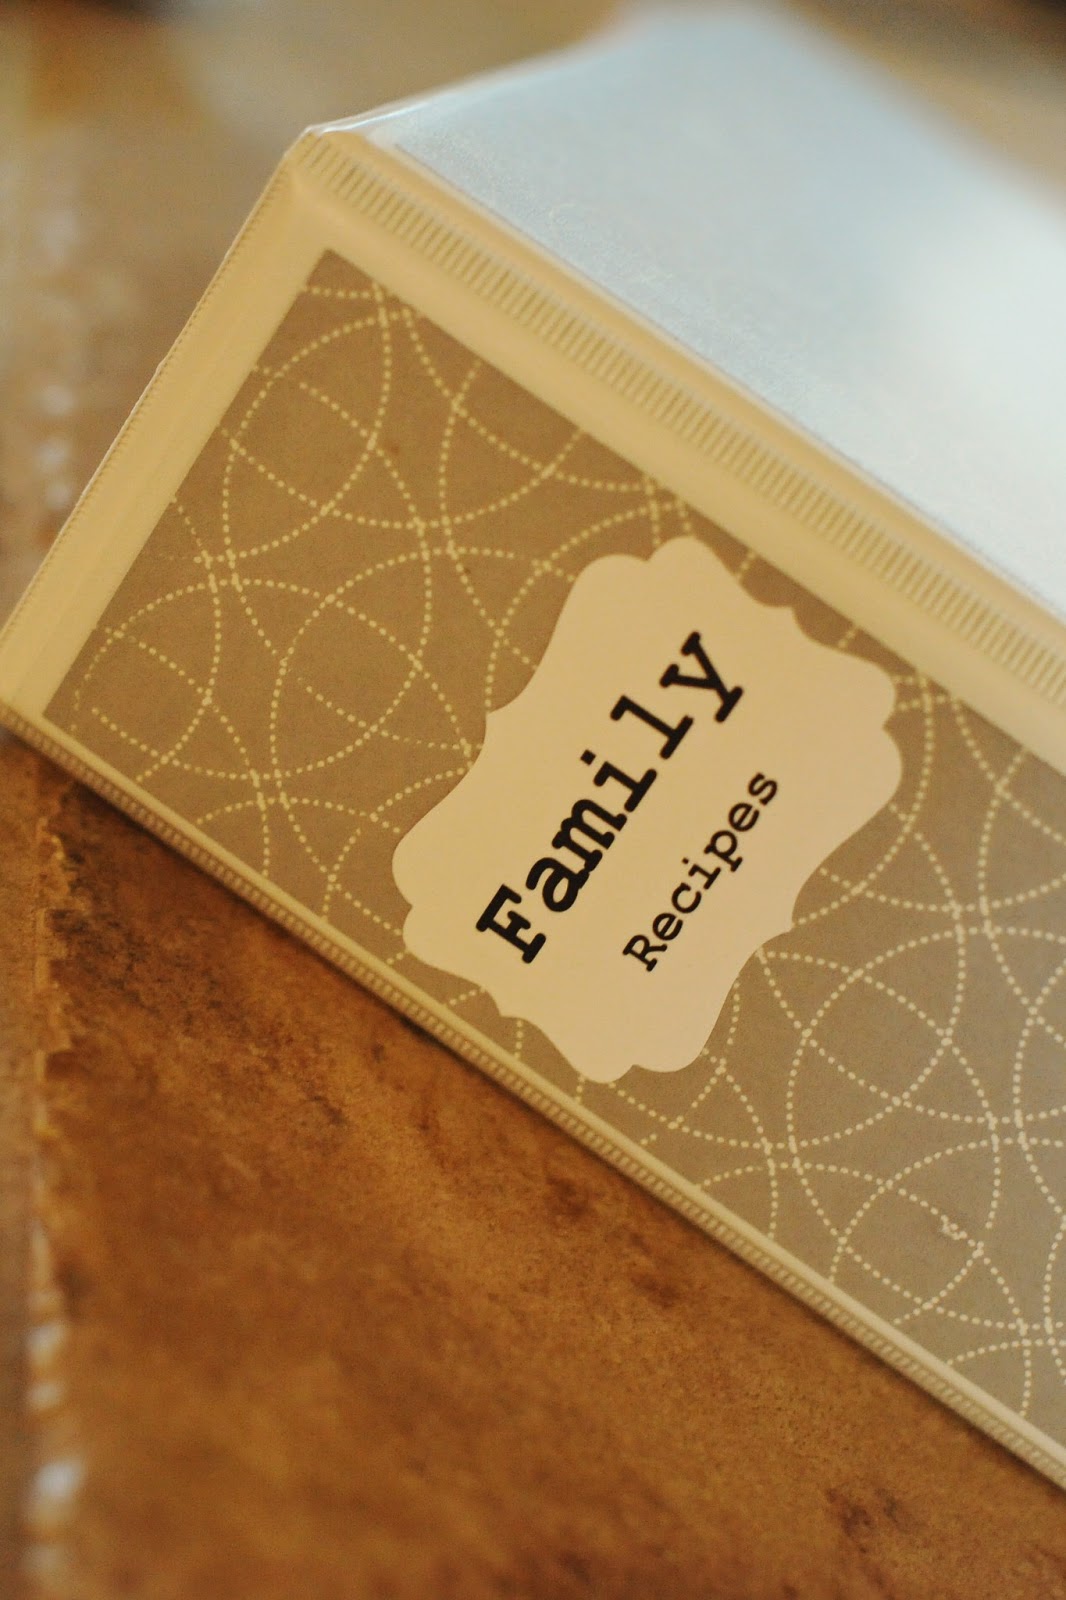
I decided that 'Family Recipes' should include any recipes that we either have
(1) tried and LOVE,
(2) fit into our eating philosophy (i.e. use whole unprocessed ingredients),
or if they don't fall into those two categories then they
(3) have been in the family for years and are something I might make on a special occasion.
Although I did have many of these recipes already printed, I spent a few days (as I had time) collecting and printing these recipes.
The only recipes in this binder are those we have tried and LOVE, not those we want to try or think we will love...


Ok, so the question... why is this a good idea?
The honest answer: I have been burned one (or eighty five) time(s) too many when trying to retrieve a recipe come 5:30pm. There is nothing worse than trying to open a Pintrest link to a recipe that goes to a dead end. Sometimes they are recipes that I had JUST looked at earlier that day. So I spend 10 minutes of precious dinner prep time trying to retrieve the recipe and getting frustrated...never again!
Also, if it is a recipe that we LOVE, then it just makes sense to me to have it in hard copy. Maybe I just don't have the tech-y gene, but I like to have important things in paper form. Totally my opinion! I realize this is not the 'green' option, however if these recipes are going to be used for years to come I don't see the problem in having a single printed copy... again, my personal opinion!
Also I am partial to page protectors, and even more specifically to the large pack of them from Costco. Every single recipe got a page protector.
So, I gathered the recipes.
Next, I divided them into categories that made sense for OUR family. Personally, it made sense to me to divide recipes into categories based on when you would use them. (appetizers, soups, main dishes, desserts...)
I created some very simple labels (for the 18 different categories I had-yikes!) on Word and added a simple border. I printed and cut them out, then attached them to a whole separate page protector using clear packing tape... essentially making my own dividers. (I jazzed them up with some fun scrap book paper, the idea for the packing tape labels was found at Bold Turquoise)


I have had the completed binder for about a month now and use it nearly every single day. I can imagine this being something I will adapt and change as we find new recipes, but essentially will be a family keepsake.
Stay tuned for more binder posts. I am telling you, I'm obsessed!


